11 Dec A Useful Guide on How to Schedule Instagram Posts
Summary
Whether you have a personal account or a business account on Instagram, one of the best and highly effective ways to promote the growth of your account is scheduling your Instagram posts. After all, if you’re active on your Instagram account, you’ll perform better on the platform, and your posts will have more engagement.
Using an Instagram scheduler for daily or weekly posts for your account has been proven to be one of the most efficient and useful marketing strategies. Scheduling Instagram posts in advance not only saves a lot of your time; it also helps boost creativity, increases your productivity, and allows you to interact with all your followers.
One commonly asked question by most people is how to schedule Instagram posts.
Here’s an easy and handy guide that will help you stay organized, grow your account, and maximize engagement.
Step 1: Connect Your Account
Source: https://www.impactbnd.com/
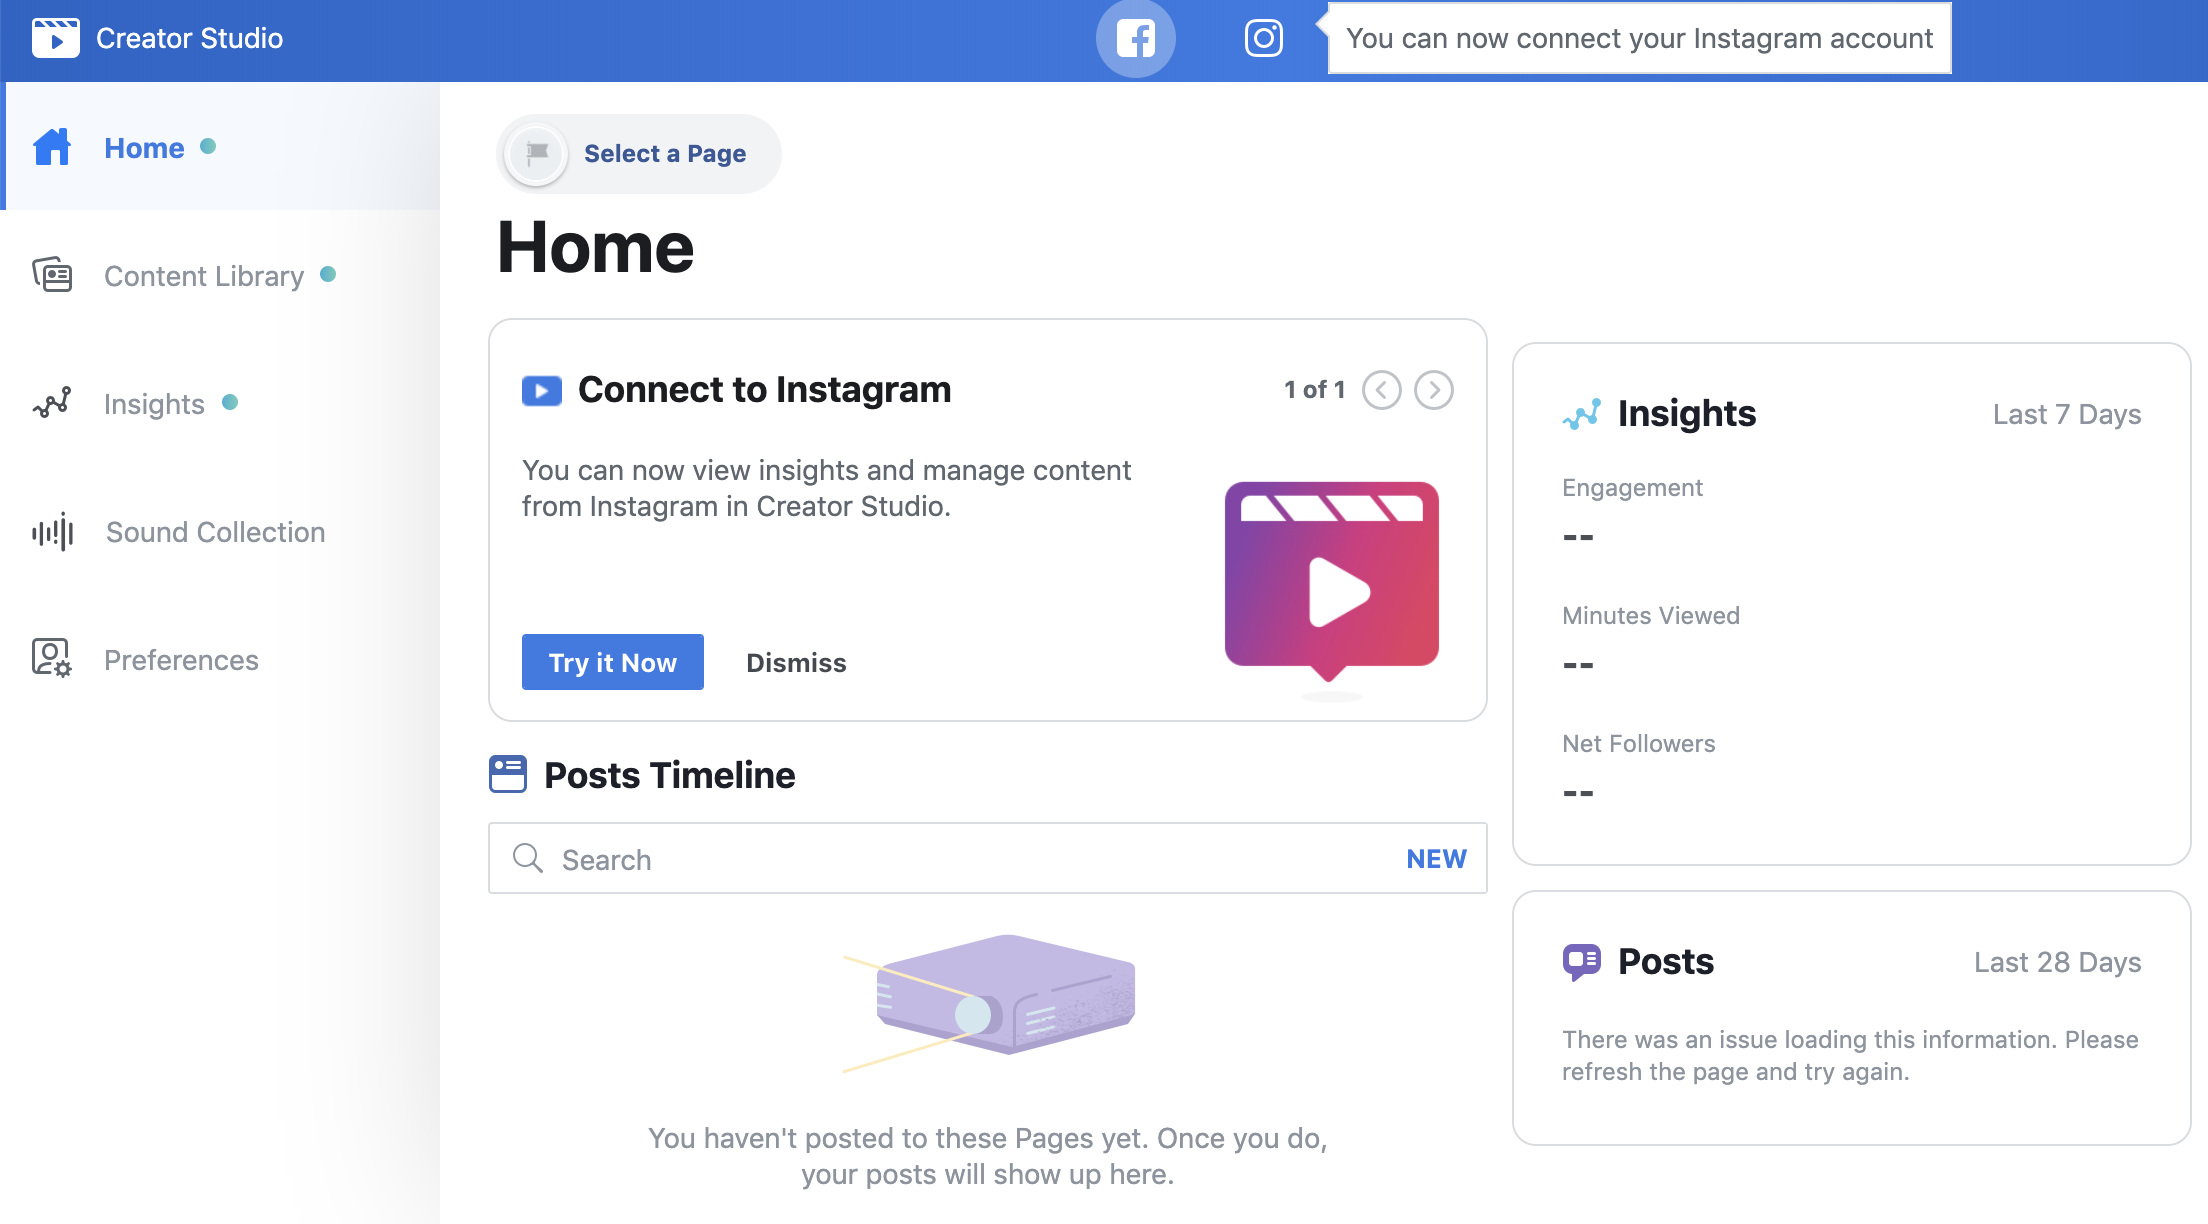
One of the easiest and quickest ways of scheduling Instagram posts is through ‘Creator Studio’ by Facebook. This is a highly valuable tool that allows Instagram users to manage their posts, schedule IGTV videos, monetize their content, and also stay fully updated on how their account is performing.
The first thing you need to do is go to Creator Studio and connect your Instagram account to it. You will see the Instagram icon at the top of the window. Click on the icon, which will help you connect your Instagram account to Creative Studio’s main browser. Once connected, you will be able to view all your account insights and contents.
Step 2: Create Your Post

Source: https://shop.elancreativeco.com/
Now that you’re connected, the next step is to create a post that you want to upload. You will see a ‘create post’ button in the corner of the screen that further gives you two options to upload on your Instagram feed or the IGTV. In case you already have your posts ready, the only thing left to do is to schedule them.
Step 3: Schedule Your Posts
Choose content or pictures that you wish to schedule for later, either from your Facebook page or from your desktop. Add any details that you want, including captions, locations, etc. The next thing you’ll see is a ‘schedule’ option on your screen. Once you click on it, you’ll be asked to choose a specific date and time when you want to upload your post.
Essential Things to Remember

While scheduling Instagram posts is surely an easy task, there are some important factors that you must bear in mind.
- The scheduling option is only limited to business accounts and profiles. So, if you want to schedule posts in advance on your personal account, you need to convert it to a business profile. To do that, go to ‘settings,’ then click on ‘account,’ and then click on ‘switch to a professional account.’ Follow the prompts and you’re good to go!
- Consistency is crucial for Instagram success and marketing, so make sure that you post consistently.
- There are several tools that allow scheduling posts on Instagram, such as ‘Later,’ ‘Buffer,’ and ‘Hootsuite.’ Each tool targets different groups of people and types of Instagram accounts, so use the one that best fits your needs and preferences.
As a final note, always track your progress in order to figure what works best for your account. This will ultimately pave the way to its ultimate performance and success!